
Photo by chuttersnap on Unsplash
Docker shut down Docker Cloud, leaving more than fifty of my containers without a home. I moved them to Portainer: lightweight, self-hosted, and easier to switch to than I expected.
Nothing lasts forever: A few days ago, Docker Inc. announced the end of “Docker Cloud”. This article describes the migration of my single node installation to Portainer – an open-source lightweight management UI for Docker.
Docker Cloud (formerly known as “Tutum” before the acquisition by Docker Inc.) is an orchestration tool to manage a container infrastructure. With a nice web interface, it supports the administration of stacks, services, and containers – including automatic updates and monitoring. This also works well with a single docker node (slogan: “Bring your own host”), which is my use case. I’m running multiple applications in more than 50 containers on a bare-metal Linux server.
Docker gives its users 60 days to switch to another software. Since I’ve managed all my services and applications in production with Docker Cloud since 2016, I had to look for another tool right now.
What exactly is a replacement needed for?
I want to continue running my containers on my own host, which is a dedicated Linux machine at Hetzner in a German data center.
In summary, I’m looking for a solution for the following tasks:
- Web interface: Docker can be managed by the command line, but I want to use a web browser.
- Auto-Redeploy: If a new image is available, the dependent containers must be redeployed automatically.
- Monitoring: In case of relevant events (e.g. failures, container updates), a Slack notification should be performed
There are lots of alternative products out there, I’ve chosen Portainer. BTW, Portainer wants to be a replacement for Rancher.
An essential requirement for Portainer, however, is that the Swarm Mode is required to use “Stacks”. The swarm mode can be activated on a single host, too. But all other services will have to deal with it – there are some pitfalls.
1. Getting started
Because a very old version of Docker was used on my host (due to the requirements of Docker Cloud) and an update would cause downtimes, I decided to build the setup from scratch on a new host.
Install Docker
The first steps are simple: First, you have to complete the default installation of Docker. At the time of this writing, this is 18.03.0-ce.
Add registry authentication
For the use of private images, login to your registry is required:
~ $ docker loginThis results in the /root/.docker/config.json file, which will be needed later for automatic image updates.
Prepare persistent volumes
Because in my case there is only one node in the swarm, I store all persistent volumes locally on the host in a specific folder:
~ $ mkdir /my-volumes2. Install Shepherd for automatic updates
With Docker Cloud, the availability of a new image can auto-upgrade the corresponding containers: Placing an autoredeploy=true is all you need (if the image is stored at Docker Hub).
Now, without Docker Cloud, you have to handle this by yourself. One solution is WatchTower, but this is not suitable for the swarm mode. Fortunately, there is another tool named Shepherd – which runs docker service update for all existing services via a simple bash script in an endless loop.
There is a small problem here with private images, which can easily be corrected (see PR#10 by me). Because it is not merged yet, I’m using my own image that contains this fix. Install it as a service:
~ $ docker service create --name shepherd \
      --env SLEEP_TIME="3m" \
      --env BLACKLIST_SERVICES="shepherd" \
      --env WITH_REGISTRY_AUTH="true" \
      --mount type=bind,source=/var/run/docker.sock,target=/var/run/docker.sock,ro \
      --mount type=bind,source=/root/.docker/config.json,target=/root/.docker/config.json,ro \
      ledermann/shepherd
By default, the old containers are still present (as stopped) after a service update. To change this, we can tell Docker to use a history limit of 1, so the old containers are always removed:
docker swarm update --task-history-limit 13. Install Slack-Notifier for monitoring
To be notified about Docker events on your hosts (e.g. starting container, stopping container etc.), there is a Slack integration tool called slack-docker. Install it as as service, too:
~ $ docker service create \
      --name slack-notifier \
      --mount type=bind,src=/var/run/docker.sock,dst=/var/run/docker.sock \
      --env webhook=https://hooks.slack.com/services/some/secret/hook \
      int128/slack-docker
There is another useful tool to mention: monitor-docker-slack permanently queries the status of all containers and sends a notification if a stopped or unhealthy container is found.
4. Install nginx-proxy as reverse proxy
A reverse proxy is required to route incoming requests to virtual hosts. So far I was very satisfied with the nginx-proxy, which can be used in conjunction with the letsencrypt-nginx-proxy-companion to get certificates by “Let’s Encrypt”. Nice and stable. I’ll install the alpine image because it allows using http/2 out of the box.
First we create some folders for persisting volumes:
~ $ mkdir -p /my-volumes/proxy/certs
~ $ mkdir -p /my-volumes/proxy/vhost.d
~ $ mkdir -p /my-volumes/proxy/html
Then we save this as docker-compose.yml:
version: '3.4'
services:
  nginx-proxy:
    image: 'jwilder/nginx-proxy:alpine-0.7.0'
    ports:
      - target: 80
        published: 80
        protocol: tcp
        mode: host
      - target: 443
        published: 443
        protocol: tcp
        mode: host
    restart: always
    volumes:
      - '/var/run/docker.sock:/tmp/docker.sock:ro'
      - '/my-volumes/proxy/certs:/etc/nginx/certs:ro'
      - '/my-volumes/proxy/vhost.d:/etc/nginx/vhost.d'
      - '/my-volumes/proxy/html:/usr/share/nginx/html'
    labels:
      com.github.jrcs.letsencrypt_nginx_proxy_companion.nginx_proxy: "true"

  letsencrypt:
    image: 'jrcs/letsencrypt-nginx-proxy-companion:stable'
    restart: always
    volumes:
      - '/var/run/docker.sock:/var/run/docker.sock:ro'
      - '/my-volumes/proxy/certs:/etc/nginx/certs'
      - '/my-volumes/proxy/vhost.d:/etc/nginx/vhost.d'
      - '/my-volumes/proxy/html:/usr/share/nginx/html'
Important notes:
- The current release
0.7.0of nginx-proxy supports the Docker swarm mode, the older ones are not compatible. - Publishing the ports in
hostmode is needed to get the real IP in the containers
To create a stack named reverse-proxy, run this:
cat docker-compose.yml | docker stack deploy --compose-file - reverse-proxy5. Install Portainer
First, create a folder for the volume:
~ $ mkdir -p /my-volumes/portainer/dataThen install Portainer as a docker service:
~ $ docker service create \
      --name portainer \
      --publish 80:9000 \
      --mount type=bind,src=/var/run/docker.sock,dst=/var/run/docker.sock \
      --mount type=bind,src=/my-volumes/portainer/data,dst=/data \
      --env VIRTUAL_HOST=portainer.example.org \
      --env VIRTUAL_PORT=9000 \
      portainer/portainer \
      -H unix:///var/run/docker.sock
For serving Portainer behind nginx-proxy, we need to add an additional config. Append this to /my-volumes/proxy/vhost.d/myportainer.example.org:
# Allow https via nginx-proxy
location /portainer/ {
  proxy_http_version 1.1;
  proxy_set_header Connection "";
  proxy_pass http://portainer/;
}

# Allow Container console
location /portainer/api/websocket/ {
  proxy_set_header Upgrade $http_upgrade;
  proxy_set_header Connection "upgrade";
  proxy_http_version 1.1;
  proxy_pass http://portainer/api/websocket/;
}
6. Install application stacks
Finally, the applications you want to host can be added as separate stacks from within Portainer.
Result
After all, this is my Portainer dashboard as seen in the browser:
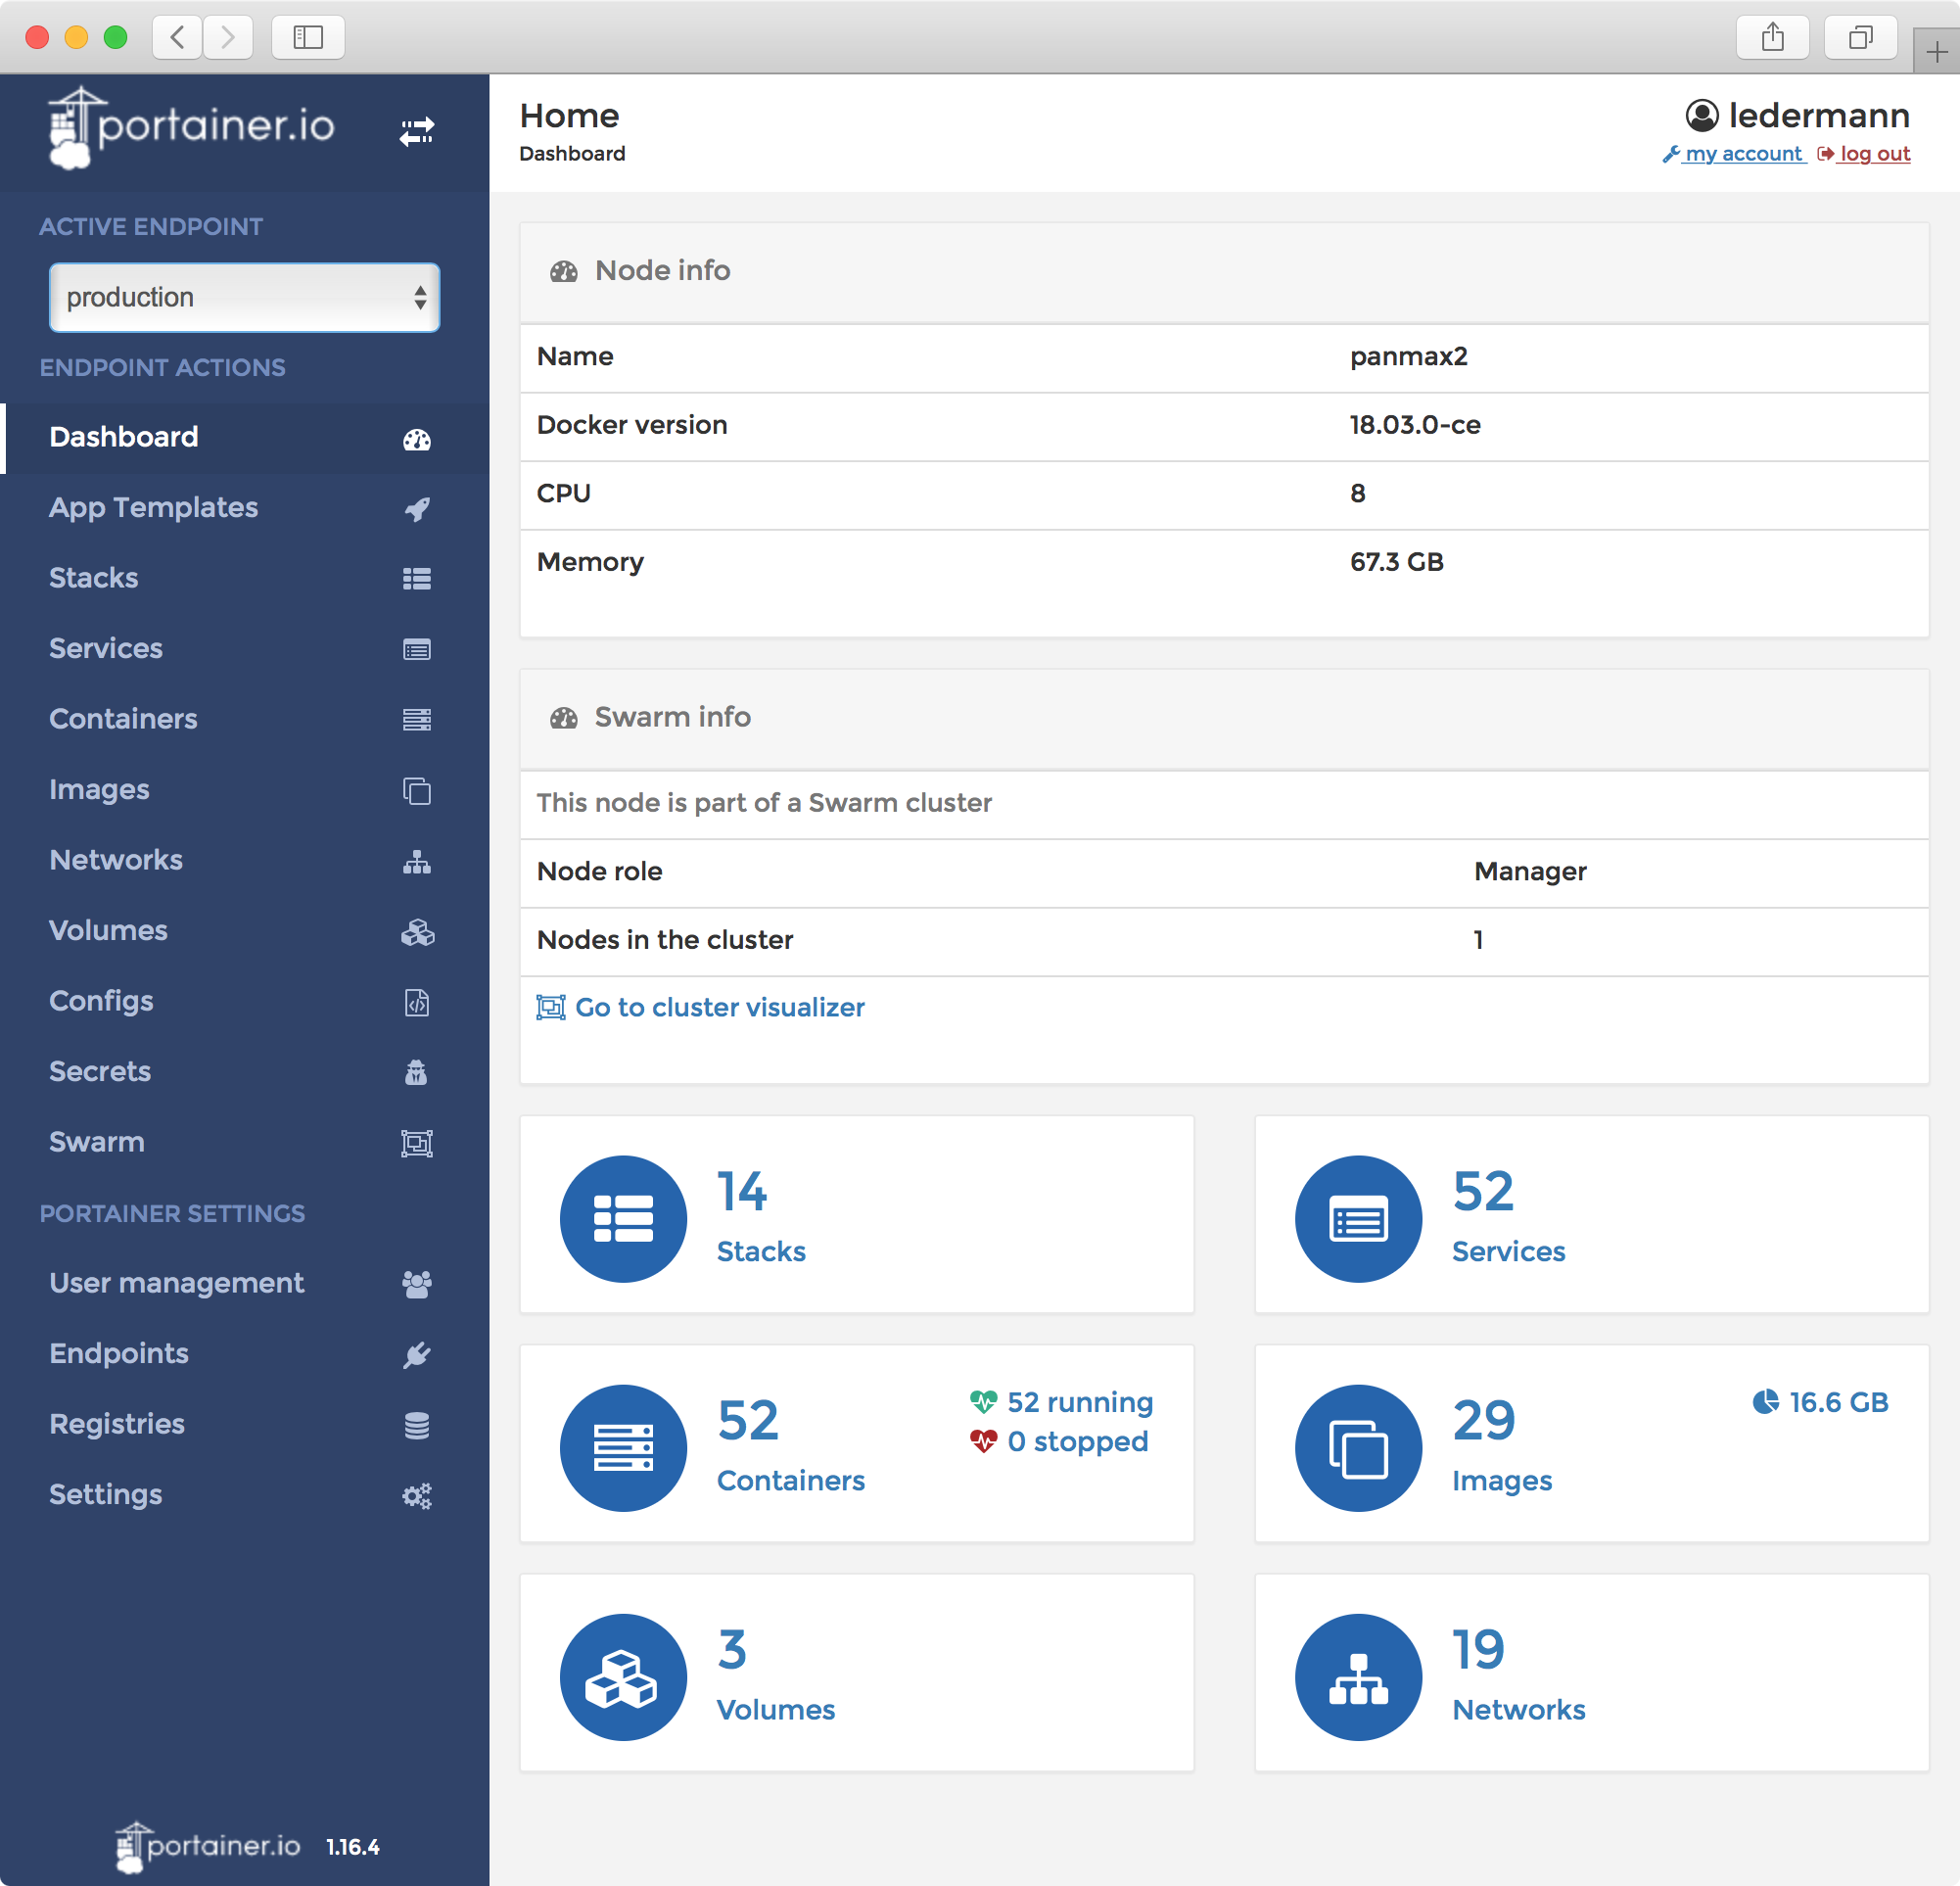
The migration took me a few days and drops the dependency on an external service.